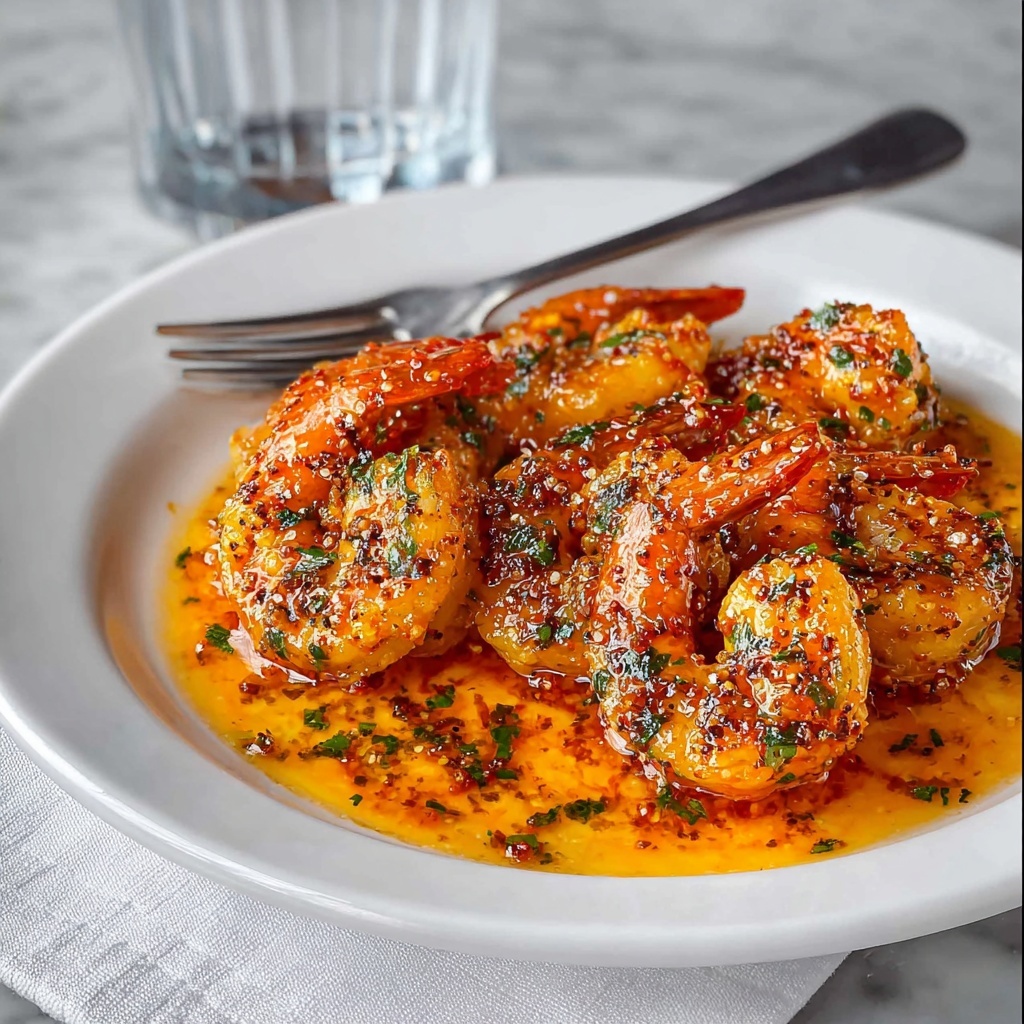
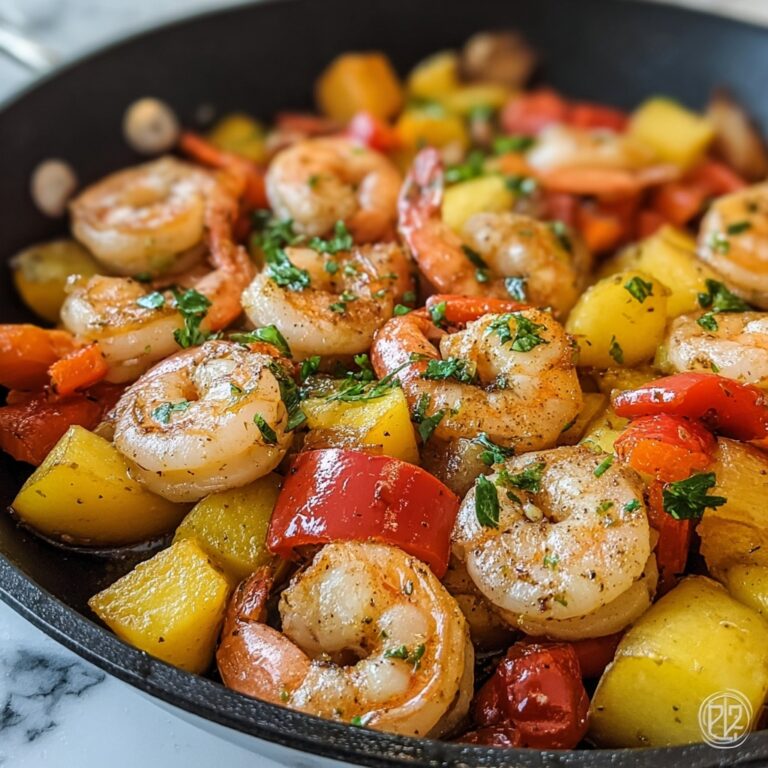
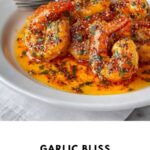
If you’re on the hunt for a dish that’s both elegant and incredibly easy to prepare, let me introduce you to my all-time favorite: the Garlic Parmesan Shrimp Recipe. This recipe delivers a perfect balance of garlicky richness and cheesy goodness that clings to each succulent shrimp bite. Whether you’re cooking for a weeknight treat or impressing friends on the weekend, this dish is bursting with flavor and texture that feels like a restaurant special but is ready in a snap. Once you try it, I promise this Garlic Parmesan Shrimp Recipe will become a go-to classic in your kitchen.
Ingredients You’ll Need
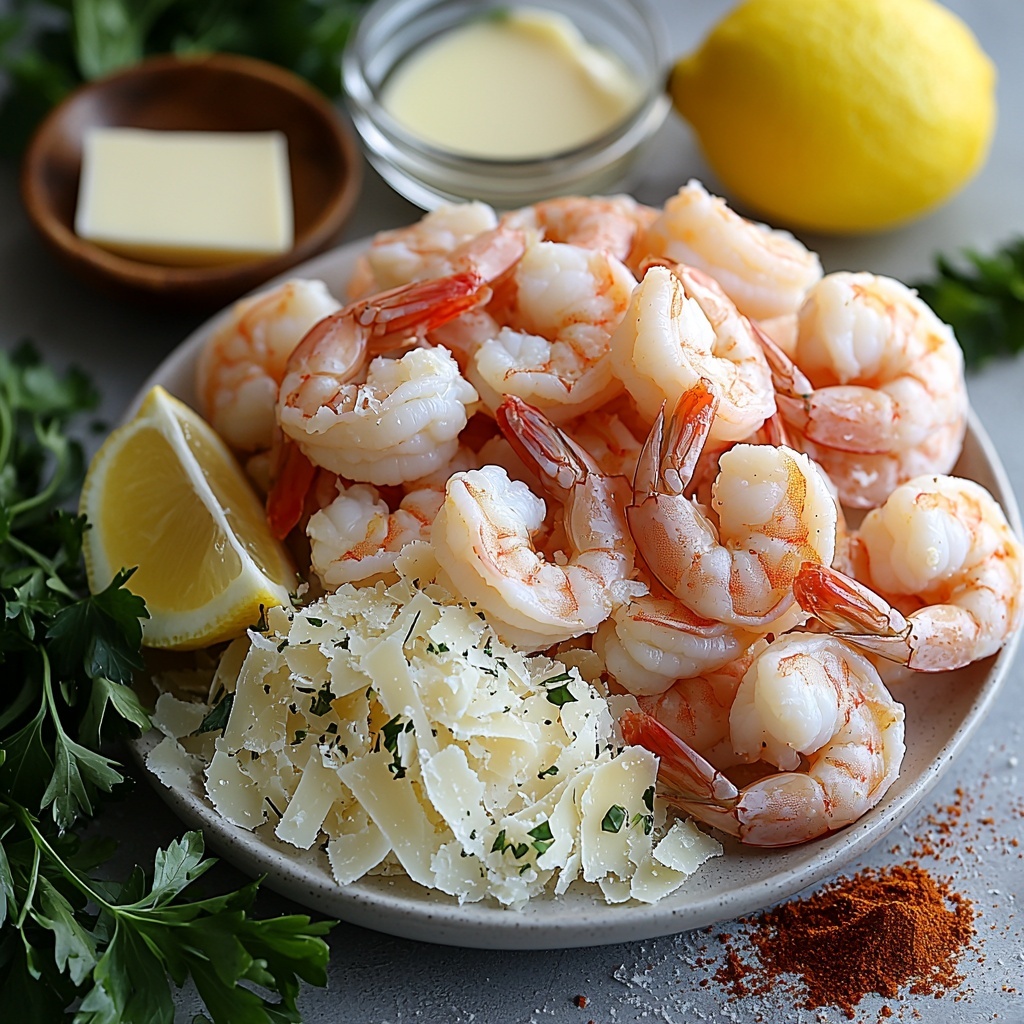
The beauty of this Garlic Parmesan Shrimp Recipe is in its simplicity. Each ingredient plays a crucial role, from the fresh herbs that brighten the dish, to the melted butter that ensures each shrimp is perfectly coated, resulting in a dish that’s bursting with flavor and just the right texture.
- 2 pounds raw shrimp, 26/30 count: Choose thawed, peeled, and deveined shrimp with tails on for the best texture and flavor.
- 1 cup freshly grated Parmesan cheese: Adds a nutty, salty richness that coats the shrimp beautifully.
- 1/2 of a lemon (zest plus juice): Provides a bright citrus lift that balances the richness of the cheese and butter.
- 2 tablespoons fresh parsley: Chopped finely to bring a fresh, herbaceous note and a pop of color.
- 2 teaspoons paprika: Offers subtle smoky warmth and enhances the vibrant color of the dish.
- 3/4 teaspoon garlic powder: Ensures an even, aromatic garlicky flavor throughout the shrimp.
- 4 tablespoons salted butter: Melted for coating the shrimp and creating a luscious garlic butter sauce.
How to Make Garlic Parmesan Shrimp Recipe
Step 1: Prepare Your Oven and Baking Sheet
Start by preheating your oven to 400 degrees Fahrenheit—a temperature that’s just right for cooking shrimp quickly and evenly. Grease a rimmed baking sheet with cooking spray to keep your shrimp from sticking and to make cleanup a breeze.
Step 2: Prep the Shrimp
If your shrimp is frozen, thaw it gently under cold running water. It’s important to remove both the outer and inner veins for the cleanest flavor and best texture. Use a small knife or shrimp tool to loosen the veins, then pull them out carefully. Rinse the shrimp once that’s done and wash your hands thoroughly.
Step 3: Mix the Cheese Coating
On a dinner plate, combine the freshly grated Parmesan, garlic powder, and paprika. This mix becomes the flavorful crust that will cling to each shrimp, delivering savory, cheesy goodness in every bite.
Step 4: Add Fresh Lemon Zest
Wash and dry the lemon, then zest half of it directly into the Parmesan mixture. The lemon zest gives the dish a vibrant brightness and a hint of citrus fragrance that makes the flavors pop beautifully.
Step 5: Incorporate Fresh Parsley
Give your parsley a quick rinse and pat it dry. Chop or snip it finely, then mix it into the cheese blend. This fresh herb lifts the entire dish, adding both a lovely green color and a subtle, fresh flavor.
Step 6: Melt the Butter and Arrange for Assembly
Melt the butter in a microwave-safe cup, which makes it easy to dip each shrimp. Set up your assembly line with shrimp first, then the melted butter, followed by the cheese mixture, and finally your baking sheet ready to catch the coated shrimp.
Step 7: Coat Each Shrimp
Dunk a few shrimp into the melted butter, holding them by the tail, then immediately dredge them in the Parmesan mixture, coating both sides well. Lay each coated shrimp on your greased baking sheet. Repeat until all the shrimp are prepared and lined up.
Step 8: Bake to Perfection
Pop the baking sheet in the oven and bake for 8 to 10 minutes. This ensures that the shrimp cook through perfectly — tender and juicy, with a golden, crispy coating from the Parmesan.
Step 9: Finish with Fresh Lemon Juice
Right after baking, squeeze the juice from the remaining half of your lemon over the shrimp. This final touch brightens every bite and brings everything together in delightful harmony.
How to Serve Garlic Parmesan Shrimp Recipe
Garnishes
Sprinkle a bit of freshly chopped parsley over the cooked shrimp for a burst of color and freshness. A light dusting of extra Parmesan or a lemon wedge on the side can make it feel extra special and inviting.
Side Dishes
This Garlic Parmesan Shrimp Recipe pairs beautifully with simple steamed rice for a gluten-free meal or crusty artisan bread that soaks up all that luscious garlic butter. Roasted vegetables or a crisp green salad also make wonderful accompaniments for a balanced, crowd-pleasing dinner.
Creative Ways to Present
For an elegant twist, serve the shrimp over creamy polenta or toss it into buttered pasta with a splash of white wine. You can also skewer the shrimp for a fun appetizer or lay them out on a colorful salad bed for a stunning presentation.
Make Ahead and Storage
Storing Leftovers
If you happen to have any leftovers (though that’s rare!), store them in an airtight container in the refrigerator. They’ll stay delicious for up to four days and make for a quick meal the next day.
Freezing
While shrimp is best enjoyed fresh, you can freeze cooked Garlic Parmesan Shrimp by placing them in a freezer-safe container or bag. Ensure they are well wrapped to prevent freezer burn, and consume within two months for the best quality.
Reheating
Reheat leftovers gently in a skillet over low heat or in the oven at 300 degrees Fahrenheit to keep the shrimp tender and avoid drying them out. Microwaving is possible, but use short bursts to maintain texture and flavor.
FAQs
Can I use frozen shrimp directly for this recipe?
It’s best to thaw shrimp under cold running water to ensure even cooking and proper seasoning adherence. Cooking frozen shrimp directly can lead to uneven texture and less flavorful results.
What can I substitute for Parmesan cheese?
If Parmesan isn’t on hand, Pecorino Romano is a great substitute that delivers a similar salty, sharp flavor. Avoid pre-grated Parmesan which often lacks the fresh flavor of freshly grated cheese.
Can I make this recipe spicy?
Absolutely! Adding a pinch of cayenne pepper or red pepper flakes to the cheese mixture will give your Garlic Parmesan Shrimp Recipe a nice kick of heat without overpowering the other flavors.
Is this recipe gluten-free?
Yes, this recipe is naturally gluten-free. Just be sure your ingredients, like the paprika and cheese, don’t have any added gluten-containing fillers if you have sensitivities.
How do I know when the shrimp is perfectly cooked?
Shrimp cook very quickly—8 to 10 minutes at 400 degrees should be perfect. They’re done when they turn opaque and firm up, curling slightly into a loose “C” shape. Overcooking causes them to become tough.
Final Thoughts
I can’t recommend this Garlic Parmesan Shrimp Recipe enough for anyone craving a dish that feels indulgent but is incredibly straightforward to make. The combination of garlic, cheese, fresh lemon, and buttery shrimp all baked to perfection is like a little celebration on your plate. Give it a try soon – your taste buds will thank you and you might just find your new favorite dinner!
Print
Garlic Parmesan Shrimp Recipe
- Prep Time: 35 minutes
- Cook Time: 10 minutes
- Total Time: 45 minutes
- Yield: 6 servings
- Category: Seafood
- Method: Baking
- Cuisine: American
- Diet: Gluten Free
Description
This Garlic Parmesan Shrimp recipe features succulent shrimp coated in a flavorful blend of freshly grated Parmesan, garlic, paprika, and parsley, then baked to perfection. The shrimp is tossed in melted butter and topped with a zesty lemon finish, making it a delicious and easy seafood dish perfect for a quick weeknight dinner or an impressive appetizer.
Ingredients
Shrimp and Coating
- 2 pounds raw shrimp, 26/30 count, thawed (tails on, peeled and deveined, preferably Icy Ocean brand)
- 1 cup freshly grated Parmesan cheese
- 3/4 teaspoon garlic powder
- 2 teaspoons paprika (regular or sweet)
- 2 tablespoons fresh parsley (cut small or chopped)
- Zest of 1/2 a lemon
Other Ingredients
- 4 tablespoons salted butter (melted)
- Juice of 1/2 a lemon
- Cooking spray (for greasing pan)
Instructions
- Preheat Oven and Prepare Pan: Preheat your oven to 400°F (200°C) and grease a rimmed baking sheet with cooking spray to prevent sticking.
- Prepare Shrimp: Thaw shrimp under cold water if frozen. Ensure both inner and outer veins are removed by loosening with a small knife, shrimp tool, or metal skewer and pulling them out. Rinse shrimp thoroughly and wash your hands to maintain cleanliness.
- Mix Parmesan Coating: On a dinner plate, combine freshly grated Parmesan cheese with garlic powder and paprika.
- Add Lemon Zest: Rinse and dry the lemon. Zest half of it using a zester or grater, adding the yellow zest to the Parmesan mixture.
- Add Parsley and Blend: Rinse and dry parsley, then finely chop or cut it with scissors. Add the parsley to the cheese mixture and toss gently with a fork until evenly blended.
- Melt Butter: Melt salted butter in a microwave-safe measuring cup, which will be used to coat the shrimp before dredging.
- Coat the Shrimp: Set up an assembly line: shrimp, melted butter, Parmesan mixture, and greased baking sheet. Place a few shrimp at a time into the melted butter, then dredge them thoroughly in the cheese mixture coating both sides. Arrange the coated shrimp on the prepared baking sheet.
- Bake Shrimp: Bake in the preheated oven for 8-10 minutes until the shrimp are cooked through but still tender. Avoid overcooking to prevent toughness.
- Finish and Serve: Squeeze the juice of half a lemon over the baked shrimp before serving. Serve the shrimp over rice for a gluten-free option, or with crusty bread to soak up the delicious garlic butter. Refrigerate any leftovers for up to four days.
Notes
- Use shrimp with tails on for easier handling and a better presentation.
- If shrimp is frozen, ensure it is fully thawed under cold water before cooking.
- Removing the veins ensures a cleaner taste and better texture.
- Be careful not to overbake shrimp to keep it tender.
- Serving over rice keeps the dish gluten-free, while crusty bread is perfect for dipping.
- Store leftovers in an airtight container in the refrigerator for up to 4 days.