“`html
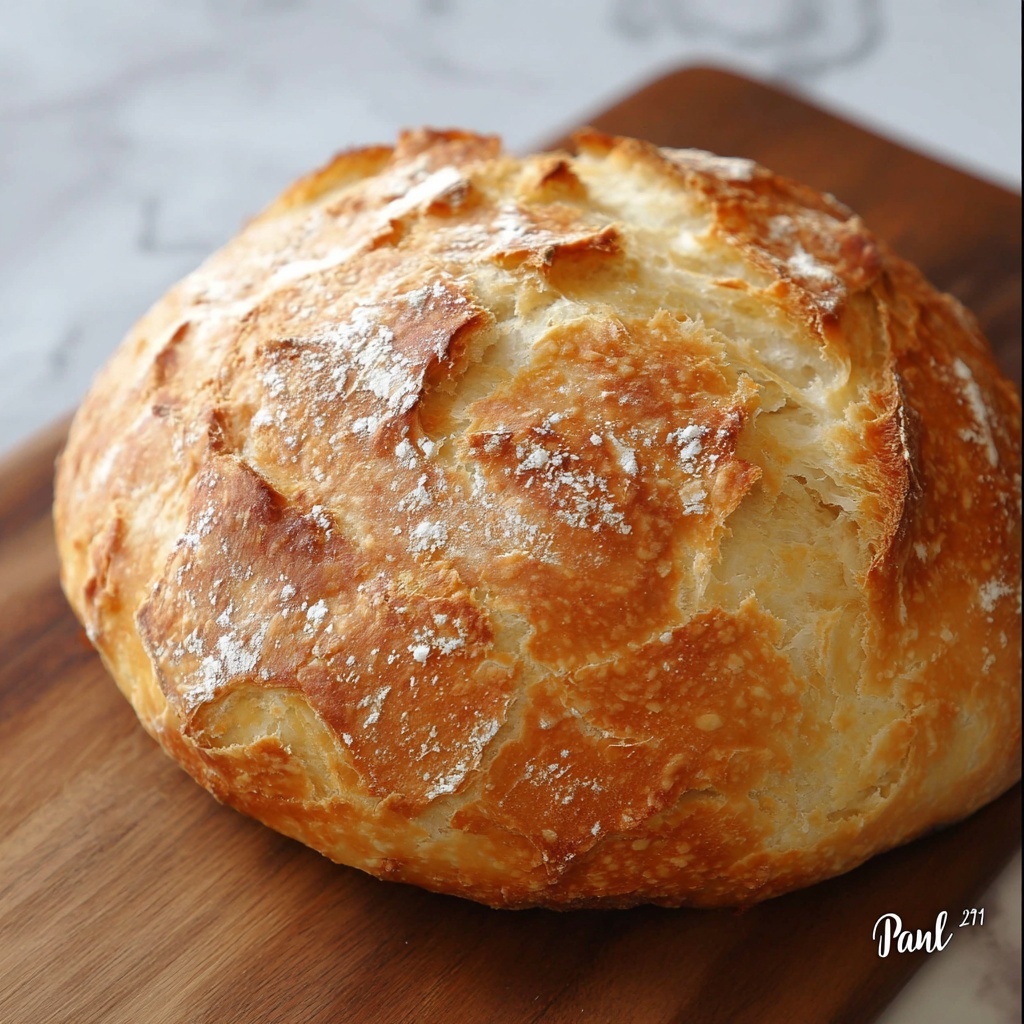
There is something truly magical about the crusty, golden exterior and tender, airy crumb of homemade bread, and I am beyond excited to share this Easy No-Knead Artisan Bread Recipe with you. It’s perfect for anyone who craves bakery-quality bread without the hassle of sticky dough or a stand mixer. With just a handful of simple ingredients and some patient rising time, you can pull a loaf out of your oven that tastes like it took hours of effort but actually comes together with minimal hands-on work. This recipe has quickly become my go-to when I want that comforting, fresh-baked aroma filling my kitchen and a rustic loaf to enjoy with butter, cheese, or a hearty meal.
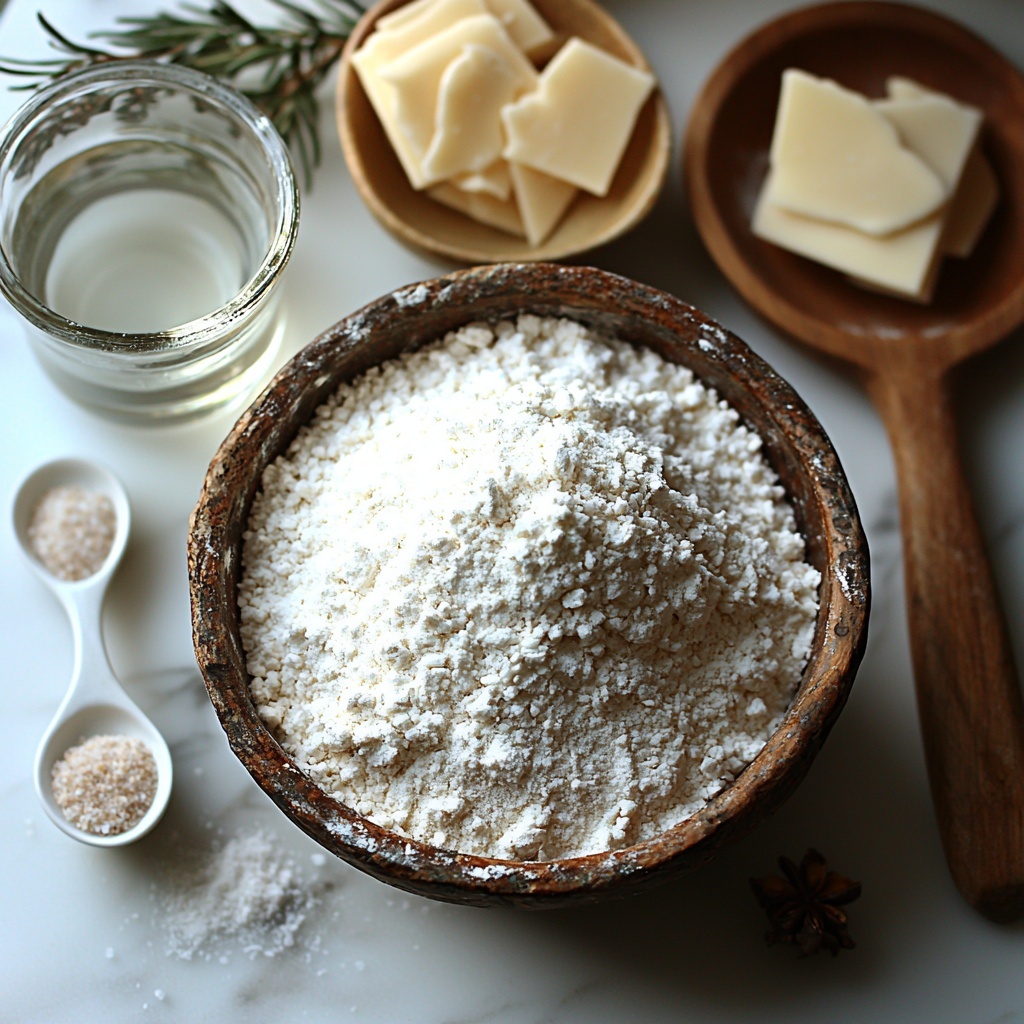
Ingredients You’ll Need
The beauty of this Easy No-Knead Artisan Bread Recipe lies in its simplicity. Each ingredient works in harmony to create a bread that boasts a beautifully chewy texture, a nicely browned crust, and just the right amount of flavor. You won’t find any complex add-ins here—just essentials that transform pantry staples into something extraordinary.
- 3 cups all-purpose flour: The foundation of your bread, providing structure and chew.
- 2 teaspoons kosher salt: Enhances flavor while helping control yeast activity.
- ½ teaspoon instant yeast (or active dry yeast): The magic agent that gives the bread rise and airy texture.
- 1 ⅓ cups warm water (about 110 degrees F): Activates the yeast and hydrates the flour to create a sticky, workable dough.
How to Make Easy No-Knead Artisan Bread Recipe
Step 1: Mix Your Ingredients into a Sticky Dough
Start by whisking together the flour, kosher salt, and yeast in a large bowl. This dry mixture is your base. Pour in the warm water and stir with a wooden spoon or rubber spatula until the dough forms a sticky mass. No need to knead here—that’s the beauty of this recipe! Cover the bowl and let the dough rise at room temperature for 4 hours. This slow fermentation is what develops the flavor and open crumb you’ll love.
Step 2: Shape and Rest Your Dough
After your dough has risen and is bubbly, gently turn it out onto a floured surface. Carefully shape it into a round ball, being mindful not to deflate the air pockets too much. Lightly dust the top with flour, place it on a piece of parchment paper, and cover loosely with a kitchen towel. Let it rest for 30 minutes—this final rest helps the dough relax before baking and promotes a better rise in the oven.
Step 3: Preheat Your Dutch Oven
Place your Dutch oven or cast iron pot (with the lid on) into the oven and preheat the oven to a high temperature of 440 degrees Fahrenheit. The hot pot creates a steamy, enclosed environment that mimics professional bread ovens and is essential for achieving that crisp, blistered crust.
Step 4: Bake the Bread Covered
Carefully remove the hot pot from the oven (using oven mitts!), and lift the parchment paper with the dough into it. Cover with the lid and bake for 30 minutes. This trapped steam works wonders for the crust and helps your bread expand beautifully.
Step 5: Uncover and Finish Baking
After 30 minutes, remove the lid to let the crust brown to a gorgeous golden color. Bake for a few more minutes until it reaches your preferred level of crustiness. Then transfer your loaf to a wire rack to cool completely. Waiting at least 30 minutes before slicing is key to letting the crumb finish setting and avoiding a gummy texture.
How to Serve Easy No-Knead Artisan Bread Recipe
Garnishes
This bread shines as is, but if you want to dress it up, you might sprinkle a little flaky sea salt or brush the loaf with olive oil or melted butter once it’s out of the oven for an extra layer of flavor and shine. Fresh herbs like rosemary or thyme pressed into the dough before baking can also add a delightful twist without complicating the process.
Side Dishes
Easy No-Knead Artisan Bread Recipe pairs beautifully with soups, stews, and salads. It’s perfect for dipping into tomato basil soup, soaking up creamy chowders, or slathering with butter alongside a crisp green salad. You’ll find this bread turning any simple meal into something special.
Creative Ways to Present
Impress your guests by slicing your loaf into thick rustic chunks and serving it alongside an olive oil and balsamic vinegar dipping bowl. Or make open-faced sandwiches with fresh mozzarella, heirloom tomatoes, and basil for a delightful appetizer. Toast thick slices and layer with avocado and chili flakes for a quick and trendy treat.
Make Ahead and Storage
Storing Leftovers
You can store any leftover bread in a paper bag or wrapped lightly in a tea towel at room temperature for 3 to 4 days. This helps maintain the crust’s texture while keeping the inside soft. Avoid airtight plastic bags at room temperature or the crust will turn chewy and soft.
Freezing
If you want to keep bread longer, slice it and freeze in an airtight bag for up to 3 months. Freezing right after cooling locks in freshness and makes it easy to toast or thaw just what you need later.
Reheating
To revive day-old or frozen bread, simply pop slices in a toaster or warm the whole loaf in a 350°F oven for 10–15 minutes. This refreshes the crust crispness and melts any butter or cheese you add.
FAQs
Can I use active dry yeast instead of instant yeast?
Absolutely! If using active dry yeast, dissolve it in the warm water first and let it sit for about 5 minutes until foamy before mixing with the dry ingredients. This helps activate it properly.
Do I really have to wait 4 hours for the dough to rise?
Yes, the 4-hour rise at room temperature is what develops the bread’s flavor and open crumb. However, you can also refrigerate the dough for up to 14 hours to slow fermentation and fit baking into your schedule.
What if I don’t have a Dutch oven or cast iron pot?
While a Dutch oven is ideal for creating steam, you can use any heavy oven-safe pot with a lid or even place a tray with water on the oven floor to add steam. Just be cautious transferring the dough without parchment paper.
Can I add herbs or seeds to this bread?
Definitely! Add herbs like rosemary or thyme, or seeds such as sesame or poppy into the dough when mixing dry ingredients. It’s a simple way to personalize your loaf.
How do I know when the bread is fully baked?
The bread should have a deep golden-brown crust and sound hollow when tapped on the bottom. Internal temperature around 200°F indicates it’s done baking.
Final Thoughts
This Easy No-Knead Artisan Bread Recipe makes fresh, bakery-style bread accessible to every home cook without intimidating techniques or fancy equipment. Once you master this simple method, you’ll enjoy the warmth and satisfaction of pulling a beautiful loaf from your oven again and again. I can’t wait for you to try it and make it your own little kitchen triumph!
“`
Print
Easy No-Knead Artisan Bread Recipe
- Prep Time: 15 minutes
- Cook Time: 40 minutes
- Total Time: 4 hours 55 minutes
- Yield: 1 loaf (approximately 1 pound)
- Category: Bread
- Method: Baking
- Cuisine: American
Description
This Easy No-Knead Artisan Bread recipe offers a simple and foolproof way to bake a crusty, flavorful loaf without any kneading. By mixing just a few basic ingredients and letting time do the work, you’ll achieve a rustic bread with a chewy interior and golden crust, perfect for sandwiches, toast, or accompanying your favorite meals.
Ingredients
Dry Ingredients
- 3 cups all-purpose flour
- 2 teaspoons kosher salt
- ½ teaspoon instant yeast (or active dry yeast)
Wet Ingredients
- 1 ⅓ cups warm water (about 110°F)
Instructions
- Mix Dry Ingredients: In a large mixing bowl, whisk together the all-purpose flour, kosher salt, and instant yeast until fully combined.
- Add Water and Form Dough: Pour in the warm water and stir the mixture with a rubber spatula or wooden spoon until a sticky, shaggy dough forms.
- First Rise: Cover the bowl loosely and let the dough rise at room temperature for 4 hours. Alternatively, you can refrigerate it for up to 14 hours to develop flavor and texture.
- Shape Dough: Turn the risen dough out onto a floured surface and gently shape it into a ball. Lightly dust the top with flour to prevent sticking.
- Second Rest: Place the dough ball on a sheet of parchment paper, cover loosely with a kitchen towel, and let it rest for 30 minutes to relax the gluten and rise slightly.
- Preheat Oven and Pot: While the dough rests, put a Dutch oven or cast-iron pot with its lid on into the oven and preheat to 440°F (226°C).
- Bake Bread Covered: Carefully remove the hot pot from the oven, lift the parchment paper with the dough, and place it into the pot. Cover with the lid and bake for 30 minutes to trap steam for a perfect crust.
- Finish Baking Uncovered: Remove the lid and bake for an additional 5-10 minutes, or until the crust turns golden brown and crisp.
- Cool and Serve: Transfer the bread to a wire rack to cool completely for at least 30 minutes before slicing to ensure the interior is set and tender.
Notes
- You can refrigerate the dough during the first rise for up to 14 hours to enhance flavor and flexibility in timing.
- Use parchment paper to easily lift the dough into the hot pot without deflating it.
- Ensure the Dutch oven or cast iron pot is very hot before adding dough to create steam needed for a crispy crust.
- Allow the bread to cool fully before slicing to avoid a gummy texture inside.
- Substituting whole wheat flour will require more hydration and may affect rising time.


