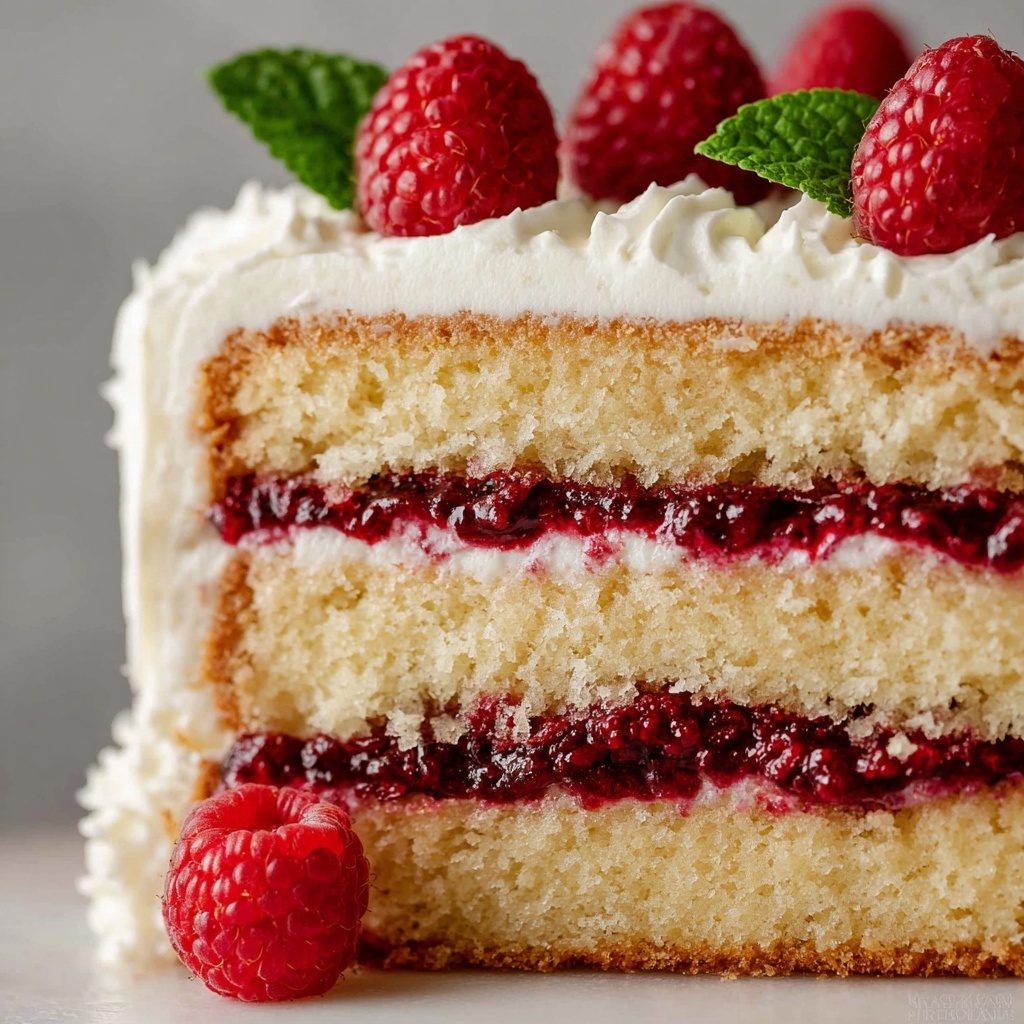
If you’re on the hunt for a luscious, fruity component that instantly elevates your cakes to show-stopping status, then this Homemade Raspberry Cake Filling Recipe is exactly what you need. It strikes the perfect balance of sweet and tart, thickened to just the right texture so it stays put between your cake layers while bursting with fresh raspberry flavor. Whether you’re baking for a celebration or just craving something special, this filling is straightforward to whip up and guaranteed to become a new favorite in your baking repertoire.
Ingredients You’ll Need
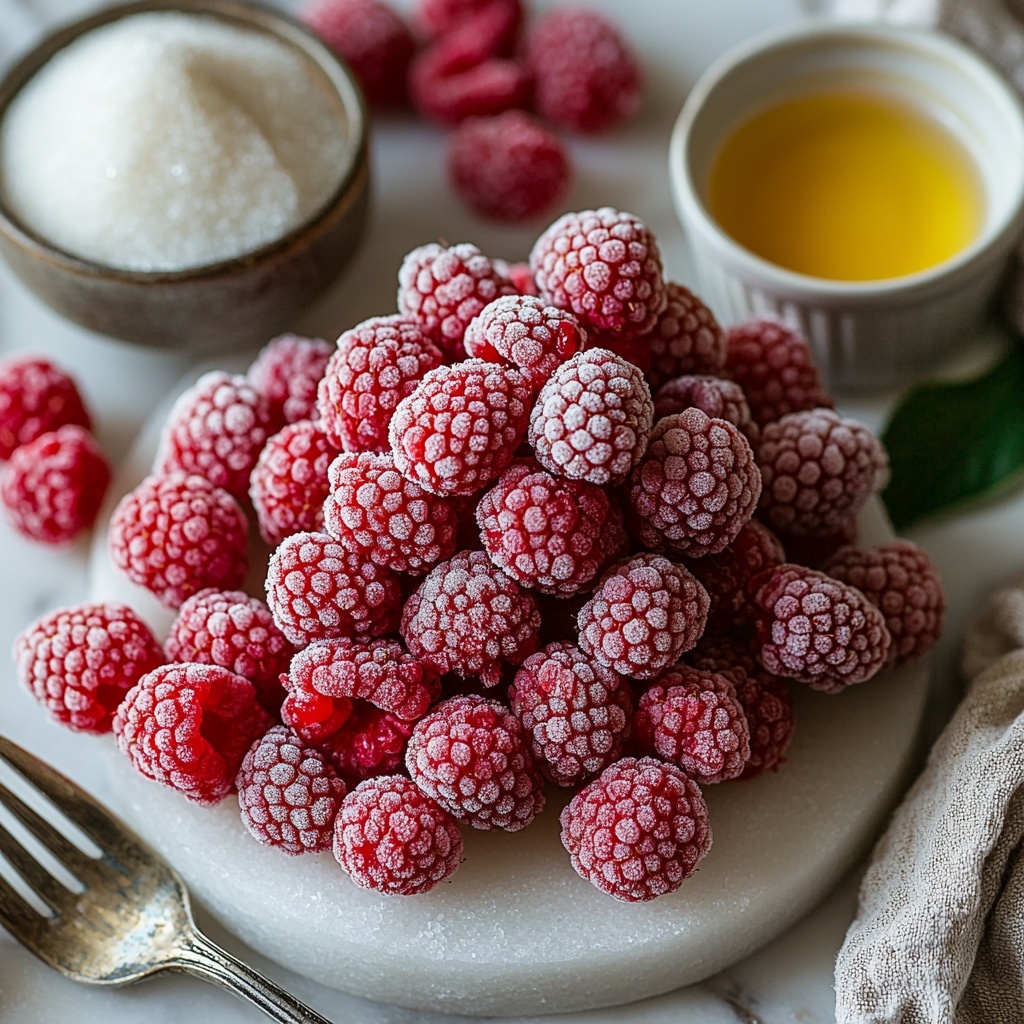
Gathering simple ingredients with a clear purpose is the secret to this filling’s success. Each element plays a key role in achieving that perfect blend of flavor, consistency, and color that brings your cake to life.
- Water (1.5 tablespoons): Acts as the base liquid to dissolve the cornstarch for smooth thickening.
- Cornstarch (1.5 tablespoons): The magic thickener that transforms raspberry juices into a luscious, spreadable filling.
- Fresh or frozen raspberries (3 cups): The star of the show, packed with vibrant flavor and natural color—no need to thaw if frozen!
- Granulated sugar (1/3 cup): Sweetens the tart raspberries to create a balanced taste that’s never overpowering.
- Lemon juice (1 teaspoon): Boosts brightness and enhances the berry’s natural flavor notes.
- Pure vanilla extract (1/2 teaspoon): Adds warmth and depth for an irresistible aroma and taste.
How to Make Homemade Raspberry Cake Filling Recipe
Step 1: Prepare Your Thickening Base and Combine Ingredients
Start by whisking the cornstarch with water until fully dissolved—this simple step ensures your filling is silky and lump-free. Then, toss the cornstarch mixture, raspberries (fresh or frozen), sugar, and lemon juice into a medium saucepan over medium heat. Stir gently with a silicone spatula, mashing the berries lightly as they thaw and release their juices, filling your kitchen with that unmistakable sweet aroma.
Step 2: Boil to Perfection
Bring the mixture to a boil, letting it bubble for 5 full minutes while stirring occasionally to prevent sticking. This boiling process activates the cornstarch, thickening the filling to a luscious consistency that will hold between your cake layers without sliding or soaking in too much.
Step 3: Cool and Set the Filling
Remove the pan from heat and stir in the vanilla extract right away to preserve its full flavor. Let the filling cool at room temperature for 10–15 minutes, then transfer it to a container and refrigerate for at least 4 hours—or even better, up to a full week. You’ll notice it thickens even more as it chills, becoming perfectly spreadable and rich in flavor.
Step 4: Fill Your Cake Layers Like a Pro
This Homemade Raspberry Cake Filling Recipe pairs beautifully with a buttercream base layer that acts as a sturdy foundation. Spread a thin coat of buttercream on each cake layer to lock in moisture and prevent the raspberry filling from seeping. Pipe a buttercream dam around the layers to keep that jammy filling snugly contained. Then spread your chilled raspberry filling inside the border, smoothing it evenly before layering your cake together. You’ll need about 1/2 cup for each layer in a three-layer 8 or 9-inch cake, and a little extra for a two-layer cake.
Step 5: Fill Cupcakes with Raspberry Bliss
Looking to surprise family or guests? Cut a small cone-shaped hollow in your cooled cupcake centers, fill them with this vibrant raspberry filling using a spoon, and then top with the removed piece like a little lid. This recipe yields plenty to fill up to two dozen cupcakes—perfect for parties or indulgent treats anytime.
Step 6: Storing and Serving Tips for Best Results
Cakes or cupcakes filled with this raspberry filling and topped with buttercream hold up beautifully at room temperature for about a day. After that, keep them covered in the fridge to maintain freshness and texture. Your raspberry filling keeps the cakes moist while adding that irresistible burst of berry flavor that everyone will love.
How to Serve Homemade Raspberry Cake Filling Recipe
Garnishes
Enhance your cake’s appeal with fresh raspberries, a light dusting of powdered sugar, or a sprig of mint. These small touches complement the filling’s natural fruitiness and add a gorgeous visual pop that’s sure to impress anyone lucky enough to take a slice.
Side Dishes
Serve your raspberry-filled cake alongside a scoop of vanilla ice cream or a dollop of freshly whipped cream for an extra creamy contrast. A cup of hot tea or coffee also balances the sweet-tart flavors perfectly, making every bite feel like an indulgent moment of bliss.
Creative Ways to Present
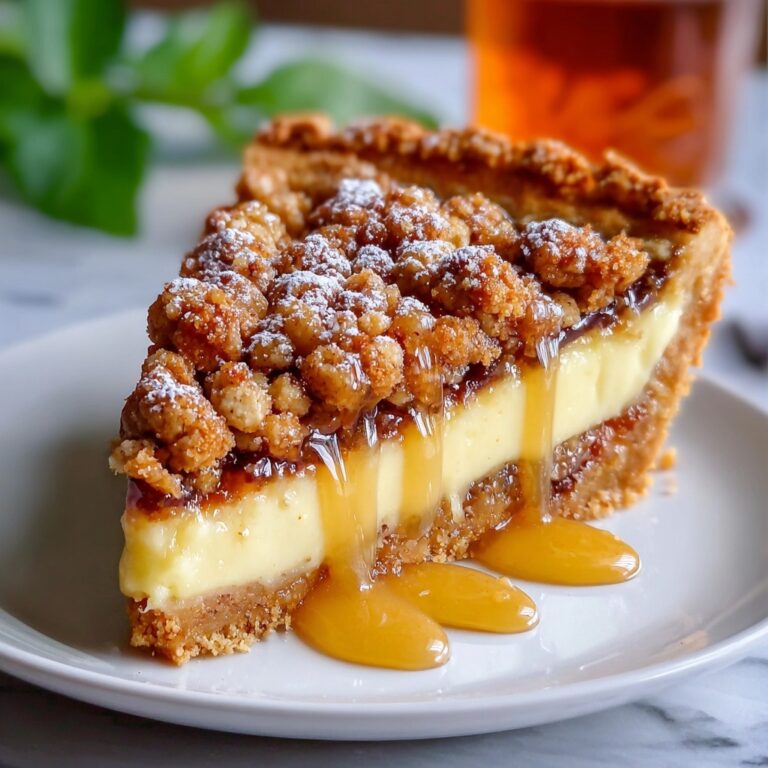
Beyond classic cakes and cupcakes, try using this filling as a layer in trifles, between crepes, or swirled into yogurt parfaits. Its vibrant color and tart flavor make it a versatile star that can brighten up any dessert plate with minimal effort but maximum wow factor.
Make Ahead and Storage
Storing Leftovers
Keep your leftover raspberry filling chilled in an airtight container in the refrigerator for up to one week. It stays perfectly fresh, ready for your next baking adventure or to add a burst of raspberry flavor to morning oatmeal or toast.
Freezing
If you want to keep the filling longer, freezing is a great option. Place the filling in a freezer-safe container, seal tightly, and freeze for up to 3 months. When you’re ready to use it, thaw in the refrigerator overnight and give it a quick stir before spreading.
Reheating
To revive the filling after refrigeration or freezing, warm it gently in a saucepan over low heat, stirring often just until it loosens up to a spreadable consistency. Avoid boiling again to preserve the fresh raspberry flavors, then let it cool before filling your cakes.
FAQs
Can I use frozen raspberries for this filling?
Absolutely! One of the best parts about this Homemade Raspberry Cake Filling Recipe is that you can use frozen raspberries straight from the freezer without thawing. It saves time and still delivers fresh, vibrant flavor and beautiful color.
How thick should the filling be before using it in a cake?
The filling should be thick and spreadable but not too stiff. After cooking and refrigeration, it should hold its shape nicely to stay between layers without oozing out, perfect for creating neat, delicious cake layers.
Can I make this filling in advance?
Yes! In fact, making the filling at least 4 hours ahead or even the day before is ideal. It gives the flavors time to meld and allows the filling to chill and thicken perfectly, making your cake assembly smooth and mess-free.
Will this filling work with other berries?
You can certainly experiment with strawberries, blueberries, or blackberries. Each berry will bring its own unique flavor profile; just adjust the sugar slightly depending on sweetness to keep the balance just right.
How do I prevent the filling from making my cake soggy?
The key is the thin layer of buttercream frosting that acts as a barrier between the cake and the filling. Also, piping a buttercream dam around the edges locks the filling in place and prevents any seepage, keeping your cake moist without sogginess.
Final Thoughts
If you want to take your cakes to the next level with a filling that is bursting with flavor, vibrant in color, and simple to make, you have to try this Homemade Raspberry Cake Filling Recipe. It’ll quickly become your go-to for birthdays, celebrations, or anytime you want to add a little extra magic to your baking. Your friends and family will be asking for the recipe in no time! Happy baking and enjoy every luscious, berry-filled bite!
Print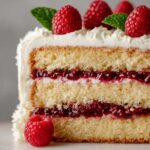
Homemade Raspberry Cake Filling Recipe
- Prep Time: 5 minutes
- Cook Time: 10 minutes
- Total Time: 15 minutes plus chilling time
- Yield: 1 1/8 heaping cups
- Category: Dessert Filling
- Method: Stovetop
- Cuisine: American
Description
This vibrant raspberry cake filling is a luscious, homemade fruit compote that brings a fresh, tangy sweetness to layer cakes and cupcakes. Made with fresh or frozen raspberries, cornstarch for thickening, and enhanced with lemon juice and vanilla, it’s easy to prepare and perfect for adding a burst of natural fruit flavor to your desserts. The filling thickens as it chills, creating a stable, spreadable consistency that pairs beautifully with buttercream frosting for a professional finish.
Ingredients
Raspberry Filling
- 1.5 Tablespoons (22ml) water
- 1.5 Tablespoons (4.5 teaspoons or 12g) cornstarch
- 3 cups (12 ounces/about 340–375g) fresh or frozen raspberries (do not thaw)
- 1/3 cup (67g) granulated sugar
- 1 teaspoon lemon juice
- 1/2 teaspoon pure vanilla extract
Instructions
- Mix Cornstarch and Water: Whisk the cornstarch and water together until the cornstarch is completely dissolved. A fork works well for this easy mixing step.
- Cook Raspberry Mixture: Combine the cornstarch mixture with the raspberries (no need to thaw if frozen), granulated sugar, and lemon juice in a medium saucepan over medium heat. Stir constantly with a silicone spatula, mashing the raspberries as they soften.
- Boil Filling: Bring the mixture to a boil and allow it to boil for 5 full minutes, stirring occasionally to prevent burning. Then remove from heat and stir in the vanilla extract.
- Cool and Refrigerate: Let the filling cool at room temperature for 10–15 minutes. Transfer it to a container and refrigerate for at least 4 hours, or up to 1 week for best flavor and texture, covering tightly if chilled longer than 4 hours.
- Fill Cakes: Use the cooled filling between cake layers for 2- or 3-layer cakes. Start with a thin buttercream base layer and pipe a buttercream dam to keep the filling contained. Spread about half a cup for 3-layer cakes or 3/4 cup for 2-layer cakes inside the dam. Assemble layers and repeat if needed.
- Fill Cupcakes: Cut out a cone-shaped center in cooled cupcakes and fill the cavity with 1 to 2 teaspoons of raspberry filling. Replace the cupcake top and gently press to seal. This recipe fills about 2 dozen cupcakes.
- Storage: Cakes or cupcakes with raspberry filling and buttercream can be covered and kept at room temperature for 1 day. After that, store in the refrigerator to maintain freshness.
Notes
- The raspberry filling thickens further as it chills, so ensure it is completely cooled before use.
- If refrigerating longer than 4 hours, cover the filling tightly to prevent drying out.
- Buttercream frosting acts as a crucial barrier to keep the filling from seeping and to stabilize the cake layers.
- For freezing instructions, consult additional notes or recipes specific to freezing fruit fillings.
- This filling pairs best with buttercream for structural integrity in layered cakes.
- Adjust filling amounts based on cake size: roughly 1/2 cup per layer for 3-layer cakes, 3/4 cup total for 2-layer cakes.


